How to stop Windows from always searching for Wi-Fi
Security
We must also consider security. It is a very important factor to get everything to work properly. If we connect to an insecure network we can have problems. We don't really know who might be behind public Wi-Fi.
We can then say that we can prevent Windows from automatically searching for networks so that one that may be insecure does not appear and we connect. In this way we will only enter those that are really reliable, those in which we give it to connect manually.
Avoid connecting to networks with poor coverage
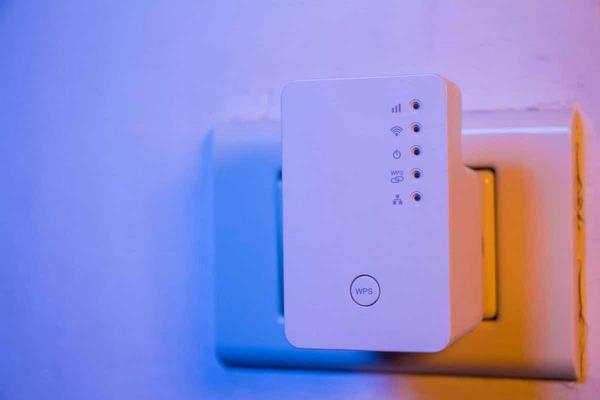
We could also get connected to a network that has worse coverage. This is common if, for example, we have repeaters nearby and, as we are constantly searching for networks, it connects to one that we are not interested in at that moment because it has poorer signal quality and we may have problems.
We will also avoid this if we decide to configure Windows so that it is not constantly searching for wireless networks. This way we will always connect to the one that interests us the most, to the one that can give the best signal at that moment.
Steps to configure Windows so that it does not search for Wi-Fi
After explaining the main reasons that could push us to prevent Windows from continually searching for wireless networks, we are going to explain what we must do to do so. It is a very simple procedure and for which we will not have to install any additional plugin. We are only going to use the configuration of the operating system.
The first thing we are going to do is go to Start, look for Services and access. There we will see a large list of operating system services that we are going to be able to modify. All of them will be configured as they come when installing the OS, unless we have made any changes. We can also access simply with the Windows + R key combination and run Services.msc.

When we are at this point, we must look for the WLAN Automatic Configuration service. We have to click with the right mouse button and click on Stop. Later we enter Properties and in Startup type, which will be marked as Automatic, we change it to Manual.
Once this is done, we simply have to click Apply and we will accept the changes. From that moment Windows will not be searching for Wi-Fi networks automatically. We must also restart the computer for the changes to take effect correctly.
In the event that at any given time we want to return to the previous state, we want Windows to search for networks automatically again, we just have to follow the steps that we have explained again and, this time, we change back to Automatic. We accept, restart the computer and that's it.
What to do so that Windows does not connect to a certain network
After having explained what we can do to prevent Windows from automatically searching for Wi-Fi networks, we are now going to focus on preventing it from connecting to a specific network. It is possible that we do not want it to automatically access a Wi-Fi that we have previously connected to or even an access point that we have at home.
We can also do this easily. It can be interesting for the same reasons that we mentioned before. It is especially useful so that it does not connect only to a certain network that has a weak signal.
If at some point we connect to a network and now we are not interested in connecting automatically, we can avoid it. To do this we have to go to Start, enter Settings, go to Network and Internet, click on Wi-Fi and access Manage known networks.
There we will see the list of all the wireless networks to which we have ever connected. It does not matter if with open networks or have a password. What Windows does is store this information to connect quickly as soon as it is detected. It is interesting to save time, but sometimes we may not want this.
What we have to do is find the network we don't want to connect to. It can be a Wi-Fi repeater, for example. We click on the name and a small box will be displayed where we will see the Stop remembering button.
Simply by carrying out this step, Windows will automatically stop connecting to that wireless network. It will delete all the stored information, something that also includes the password. If in the future we want to connect again we will have to hit Connect and manually enter the access code.
Therefore, by following these steps that we have indicated, we can also prevent Windows from automatically connecting to a specific network. It is an alternative if we do not want it to stop constantly searching for networks, but we are not interested in being able to connect to a certain network. It is a simple and fast process, which we can also easily reverse if at any given time we want it to reconnect.


